Getting Started with Intel® Edison and Arduino Breakout Board
By Surendhar Reddy / @imsurendhar
for Hackster Hardware Meetup Hyderabad
What is Intel Edison?
The Intel Edison is a tiny computer-on-module offered by Intel as a development system for wearable devices and Internet of Things devices.
It was launched at CES in January 2014.
Features
The Edison packs a host of features, including the two most widely-used connectivity options
- WiFi (802.11a/b/g/n)
- Bluetooth (4.0 and 2.1 EDR)
- 40 pins dedicated to general-purpose I/O (GPIO).
Programming
The module is equipped with a Linux OS based on Yocto ♡. So you can compile the C, C++, Python, or JavaScript (Node.js) programming language.
To interact with sensors and actuators on Edison devices (or any supported device), Intel® provides the Libmraa. Libmraa allows you to read data from sensors and actuators in a standard way
Requirements?
Ofcourse, an Intel Edison kit and a computer (which runs either of Windows 64-bit, Windows 32-bit, OSX, Linux) ready for Edison development.
A plethora of links to get your computer ready for Edison development are here

What's in the BOX?

Intel® Edison compute module to the Arduino expansion board
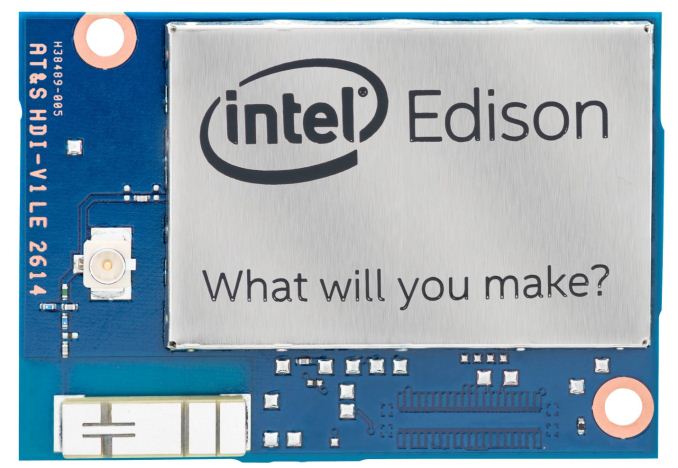
Edison
So this is the tiny computer we were talking about
Block Diagram

Let's get our hands dirty.

First Thing!

Press down on the Intel® Edison compute module just below the words “What will you make?” until you feel a snap.
To many slots?

Understanding Edison

LED Indicator

Confirms the Edison is switched on/off
Setup Edison for your Host operating system
Instructions are provided in the following links
First Program
Open up the Edison-specific Arduino software. This software is nearly indistinguishable from other Arduino builds.
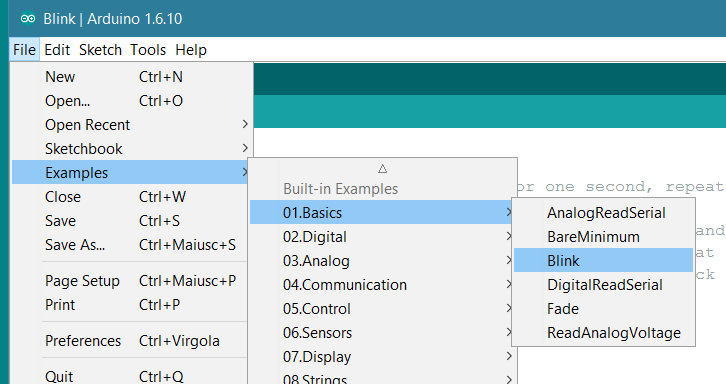
Blink LED
Go up to the File > Examples > Basics > menu and select blink
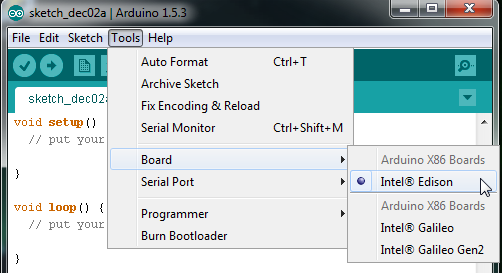
Select Board
Go up to the Tools > Board menu and select Intel® Edison
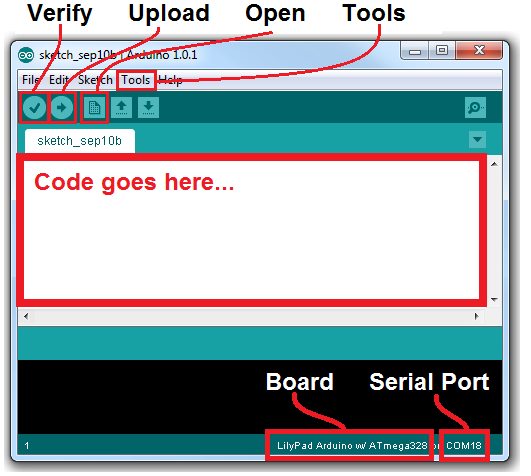
Uploading blink
A ton of options before you deploy code onto board.

Get access to Edison shell
Get into shell. It's brilliant in there.---------
Watch the following videos to get access to Edison shell.
Configure Edison
Configure your Edison with the help of following links.
Configure and setup WiFi
Do
configure_edison --setup
To configure your edison
Do
configure_edison --wifi
To configure your wifi
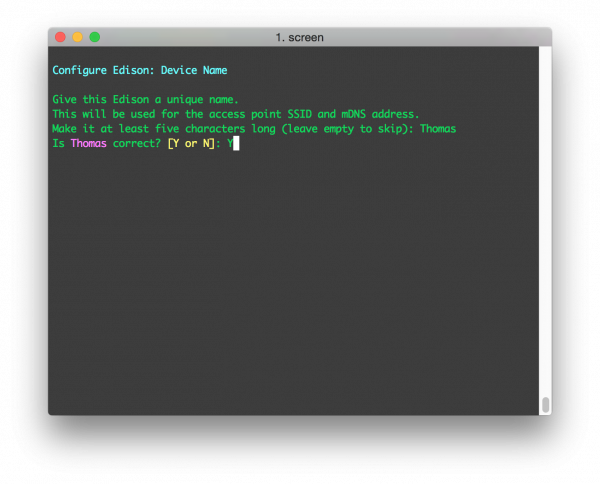
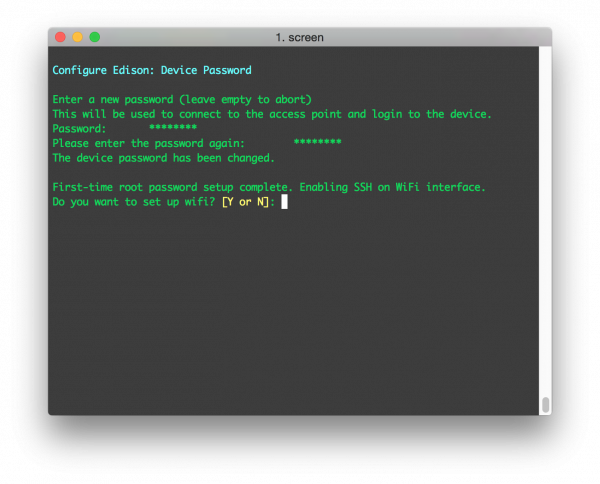
Finally we get to the reason we’re here. Type ‘Y’ to jump into the WiFi setup utility.
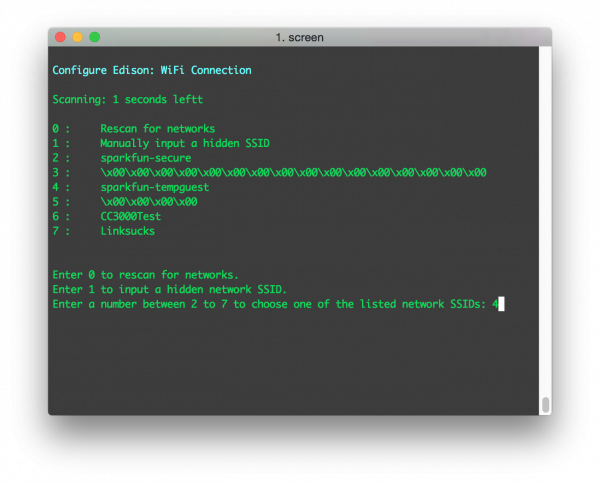
The Edison will scan for nearby wireless networks, after a few seconds it will list the results. Type a number to pick an SSID.
Enter your passkey and wait for it to (try to) connect.
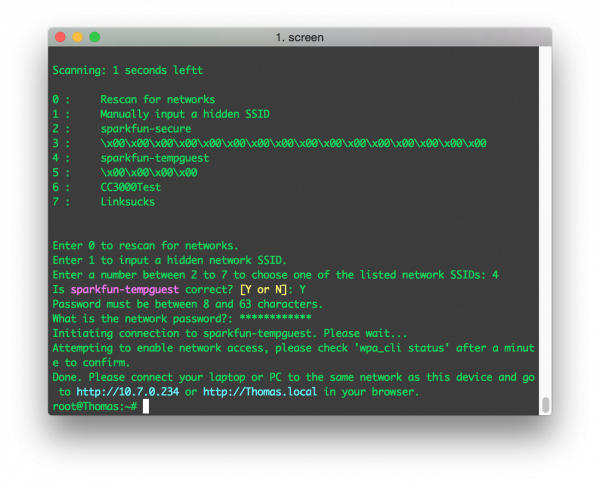
The last line of the configure utility will prompt you to open your browser and point to the Edison’s local IP.
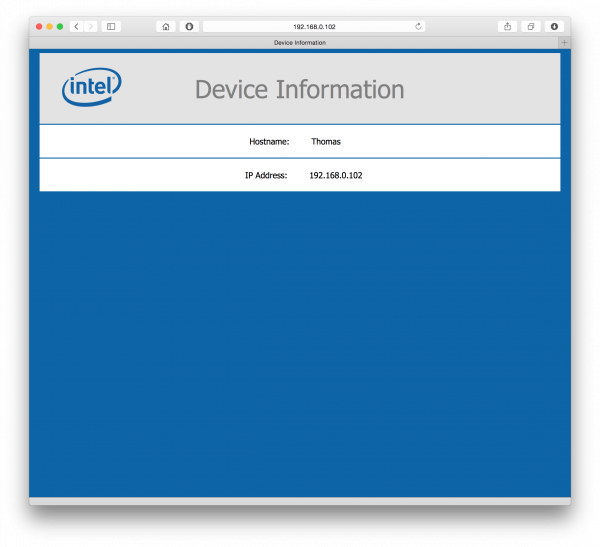
YAY!
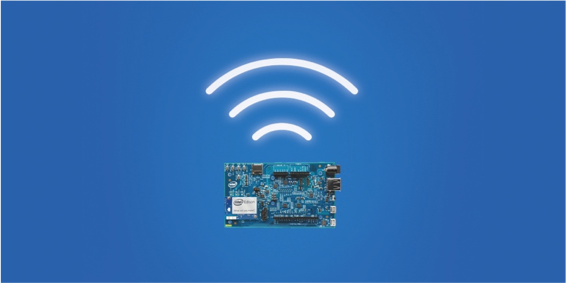
What will you make?
Find a ton of examples here

Buy
Questions?
Post them here.
THE END
Please give the feedback here.